
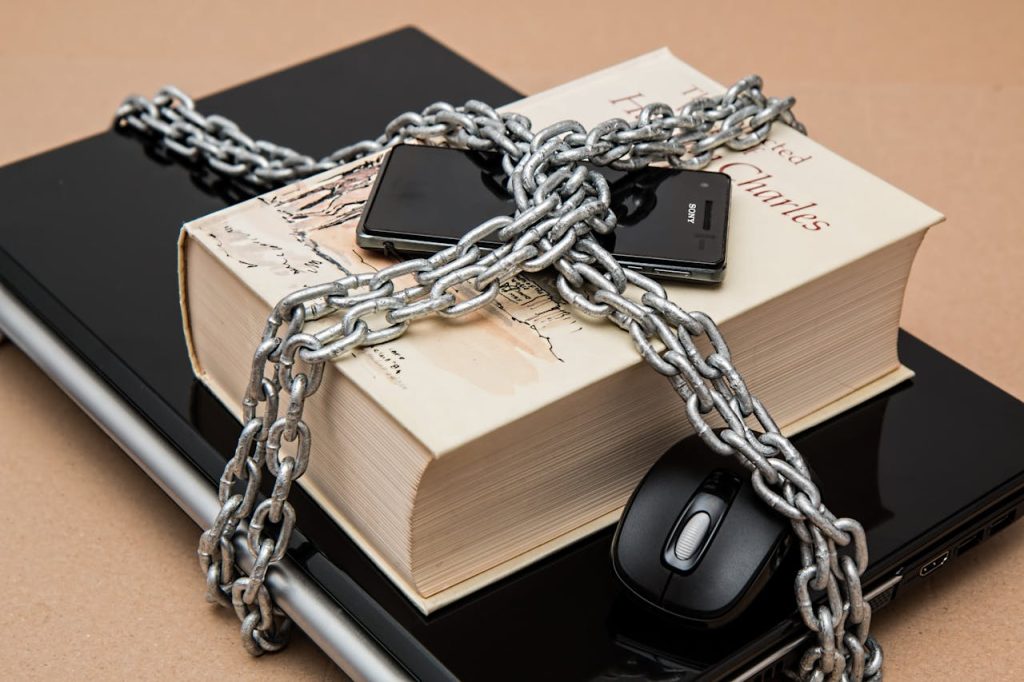
Even the strongest password can be stolen. That’s where 2FA (two-factor authentication) comes in — an extra layer of security that protects your accounts even if someone gets your password.
Whether you’re using email, social media, banking, or cloud services, enabling 2FA is one of the simplest and most effective ways to secure your online identity.
Why It Matters?
2FA means you need two things to log in:
- Something you know (your password)
- Something you have (a one-time code, app, or hardware key)
This makes it much harder for attackers to break in, even if they steal your password.
How to Set Up 2FA – Step by Step
🔐 Example: Enabling 2FA on Google
- Go to myaccount.google.com/security
- Click 2-Step Verification → Get Started
- Sign in, then choose a method (e.g., Authenticator app or SMS)
- Scan the QR code using your 2FA app
- Save backup codes in a secure place
Repeat for:
Apple ID: appleid.apple.com
Facebook: facebook.com/security/2fac
Instagram: Settings → Security → Two-Factor Authentication
Twitter/X: Settings → Security & account access → Two-Factor Authentication
Amazon: Account → Login & Security → 2FA
Best Practices
✅ Enable 2FA on all critical accounts: Email, banking, cloud storage, password manager
✅ Use an app, not SMS, when possible
✅ Store backup codes securely (offline or in password manager)
✅ Don’t use the same 2FA app across shared devices
✅ Use a hardware key for highest security (e.g., YubiKey)
Backup and Recovery Tips
- Save backup codes in a password manager or print them
- Add a secondary device (e.g., tablet) in Authy or Aegis
- Don’t factory reset your phone before moving 2FA accounts
- Some sites support recovery codes, backup email, or trusted devices
📍 Lost your 2FA device? Contact the platform’s support with identity verification — but expect delays.
Further Reading and Tools